If you read my last blog post, then you know that we begin to work on a new game: Particle in a Box. Also, you might have noticed the short video from the game. It has some fancy bloom and shock wave effects! So let’s take a look at the magic behind SHADERS…
Let’s break down this short clip and take a look at each effect and shader.
Outline
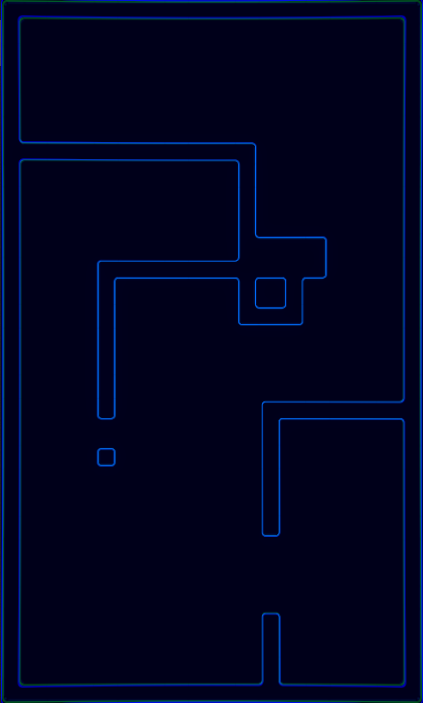
I was going for the “80’s neon” aesthetics. First, and the most obvious thing to do is to create glowing neon outlines. If you know a thing or two about shaders, then the solution is quite obvious: just make an outline. As it happens I don’t know much about shaders, Even though I wrote a couple very simple ones for the work, most of it still seems like a black magic to me. So instead of writing a fancy outline shader I decided to draw each tile and make use of the 2D grid in Unity. The rule tile from the 2D extras package was perfect for my needs.
Glowing

If you are familiar with post processing, then you know that the easiest way to achieve is to enable the bloom effect. And you are right. Almost. To really make stuff shine we also need to use the HDR colors. Which the default sprite shader does not have. But it’s ok, we can create a very simple shader. And we can do it without writing a single line of code! Yes, I’m talking about the shader graph. There are multiple ways to do it, of course, but here is what I did…
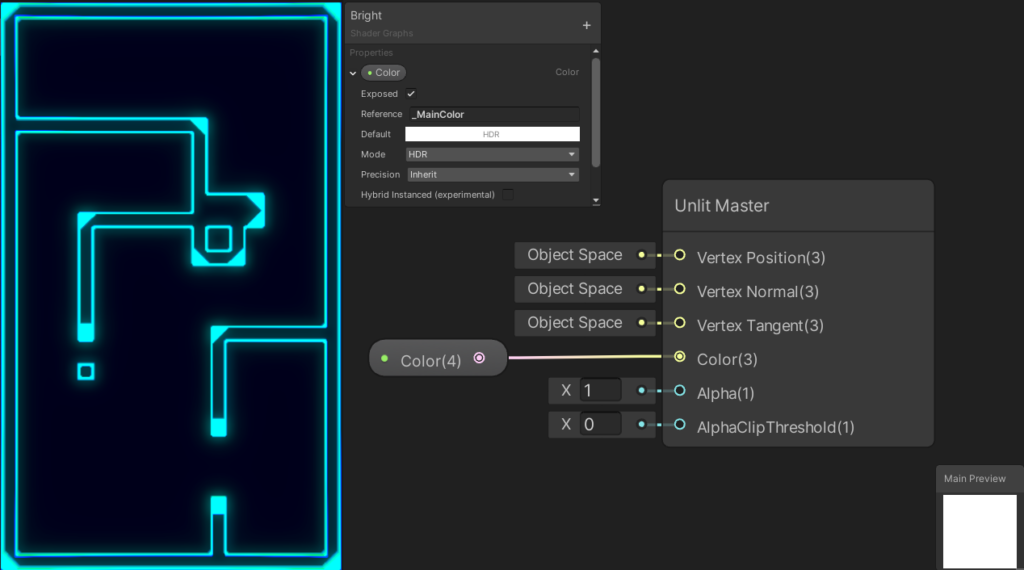
All I needed from the sprites is the alpha values. I will assign a custom color for each material separately. So I created an Unlit Shader Graph, created a color property, and set the mode to “HDR.”
Set the Color of the unlit master node to the one I created, and here is the result:

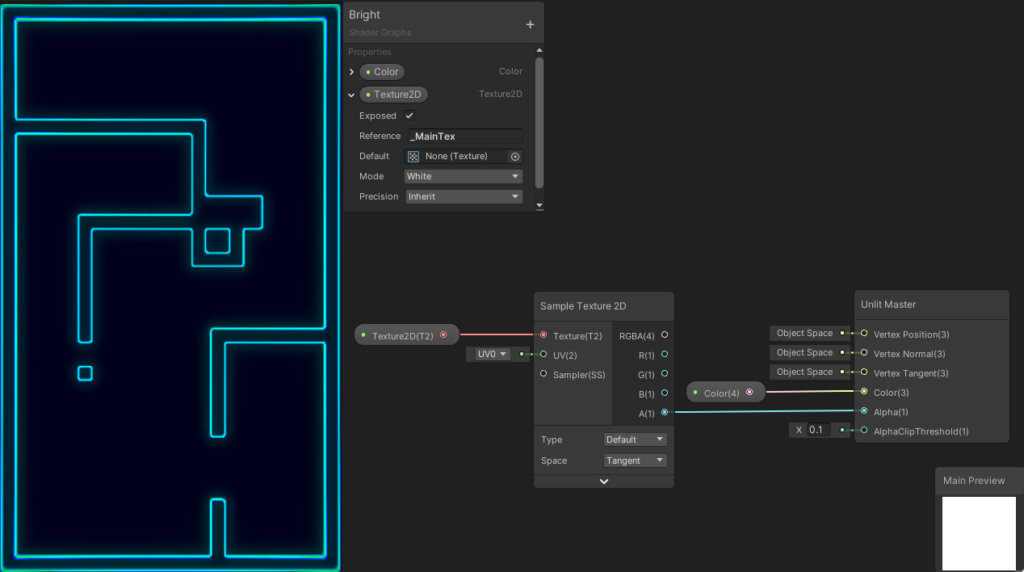
The problem is the wrong alpha values. So let’s fix that by getting them from the sprite. We need to create a new Texture2D property, and set the reference value to “_MainTex.” This is very important, otherwise the sprite renderer won’t be able to set the sprite of the material. To use the texture create a “Sample Texture 2D” note, plug the texture as the input, get the alpha value from the node and give it as the input to the alpha value of the master node. In my case there still was some problems with the alpha cutout, so I set the “AlphaClipTreshold” value to 0.1.

If you look closely to the video at the beginning of this post, you will notice two things; I used chromatic aberration in addition to the bloom effect, and there is a subtle fluctuation in the intensity of the glow.
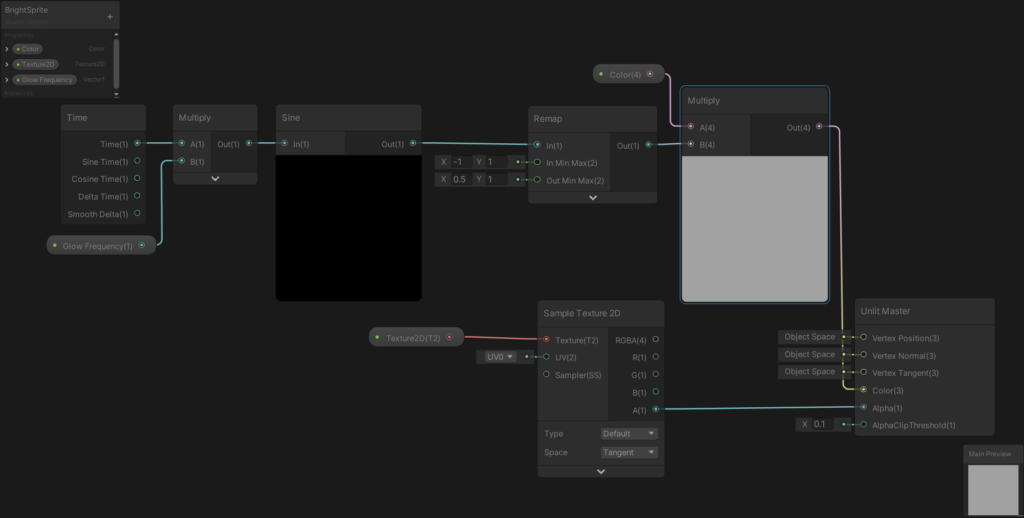
For the subtle fluctuation I multiplied the time with a variable I called glow frequency, got the sine of the result, remapped it between 0.5 – 1, and multiplied with the color.

And this is all for this post. Stay tuned for the second part, in which I will talk about the shock wave effect!

